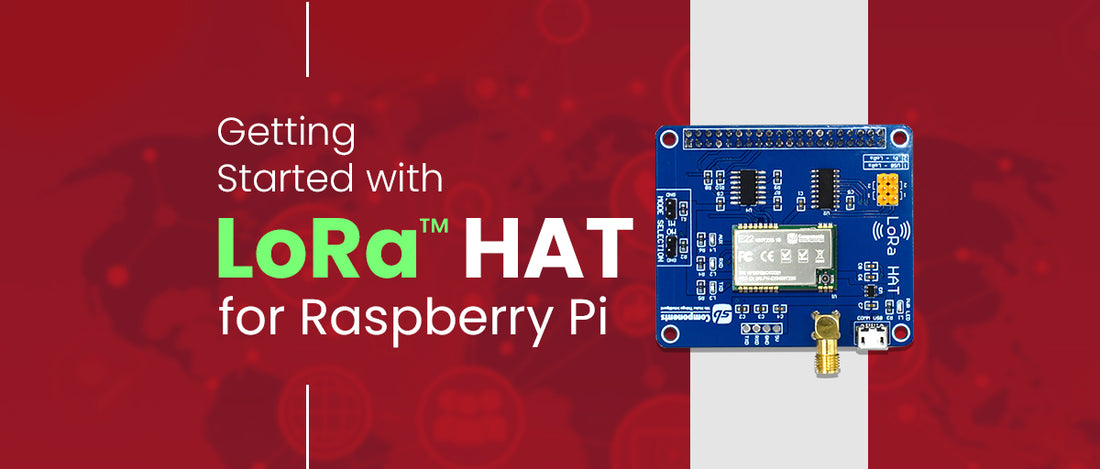
Introduction LoRa HAT
LoRa™ HAT, a low-power consumption data transmission module, comes with an onboard CH340 USB TO UART converter, Voltage Level Translator(74HC125V), E22-900T22S and E22-400T22S SMA antenna connector, IPEX antenna connector, LoRa™ Spread Spectrum Modulation technology with auto multi-level repeating.
Supported Frequencies:
- 868 MHz
- 433 MHz
- 915 MHz
To get started with your LoRa™ HAT with your Raspberry Pi computer you’ll need the following accessories:
- Raspberry Pi Board (Standard 40 Pin GPIO)
- LoRa™ HAT
- Any standard USB keyboard and Mouse will work with your Raspberry Pi.
- Wireless keyboards and mouse will work if already paired.
- Power supply
Note: The official Raspberry Pi Power Supply is recommended since it is particularly engineered to provide +5.1V despite fast swings in current consumption. When you're utilising peripherals with the Raspberry Pi, such swings in demand are common, and it's something that other supplies—designed to give continuous power for charging mobile phones—don't always handle well. It also comes with a micro USB cable, ensuring that you don't use a low-quality cable by accident, which can be a problem.
For the Raspberry Pi 4, Model B and Raspberry Pi 400 you should use the type C power supply; for all other models you should use the micro USB power supply.
Setting up your LoRa™ HAT
- Attach LoRa™ HAT at the top of the Raspberry Pi Board (on transmitter and receiver side)
- Connect the LoRa™ Antenna.

Using LoRa™ Module as a HAT - Connect LoRa™ HAT directly on the top, and then you can communicate the LoRa™ HAT with Raspberry Pi via UART Protocol. Then you need to enable serial port from settings.
or
You can also enable from "sudo raspi-config" as shown in the images below:


Transmitter & Reciever Code for LoRa HAT
You’ll see transmitter and receiver code as shown below and run the codes
Transmitter

import time
import serial

lora = serial.Serial(port='/dev/ttyS0',baudrate = 9600,parity=serial.PARITY_NONE,stopbits=serial.STOPBITS_ONE,bytesize=serial.EIGHTBITS,timeout=1)

while True:
    n = input("Enter The Message = ")#input the string
    b = bytes(n,'utf-8')#convert string into bytes
    s = lora.write(b)#send the data to other lora
    time.sleep(0.2)#delay of 200ms

Receiver

import time
import serial

lora = serial.Serial(port='/dev/ttyS0',baudrate = 9600,parity=serial.PARITY_NONE,stopbits=serial.STOPBITS_ONE,bytesize=serial.EIGHTBITS,timeout=1)

while True:
    data_read = lora.readline()#read data from other lora
    print(data_read)
    time.sleep(0.2)

You’ll get the following output:
Using LoRa™ via USB - LoRa™ HAT can be used via USB connection to PC you just need to switch the jumper wire, Connect LoRa™ to the PC via USB cable as shown in image below.
Then open "Tera Term software", choose the port, for broadcast message you need to open tera term select the port then go to control->broadcast command as shown in figure(broad), write message then click submit. You can also make receiver from tera term, for this you need to open tera term, select the port and done.
LoRa™ Applications
- Air Pollution Monitoring
- Tracking
- Smart Lighting
- Water Flow Management
- Smart Parking
- Home Automation and much more

Enjoy LoRa HAT For Raspberry Pi!


1 comment
Helge
source for delivery in Germany ?