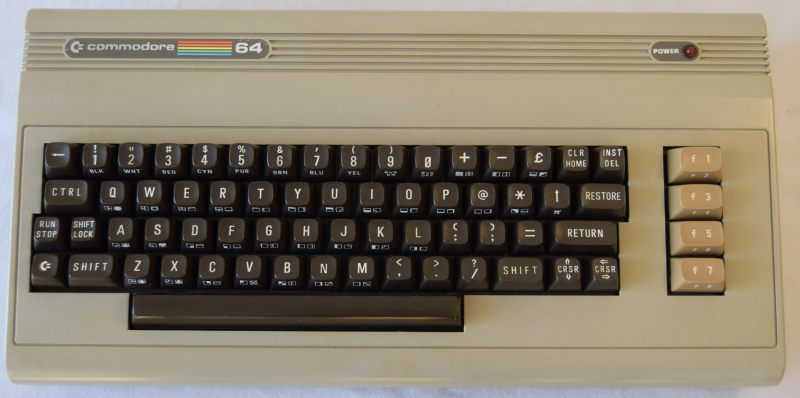
Games like Duke Nukem 3-D, Wolfenstein 3D, Star Wars Jedi Knight II: Jedi Outcast and many more! still got a special place in our heart, Isn’t it? There are millions of people around the world that are fans of retro gaming, want to live their childhood times with the help of these arcade games. Raspberry Pi isn’t just for the DIY project and the creator of Commodore 64 Revamp,Stephen Williams, proved it with his project. Let’s get a quick overview about the creator and his ideas first and then go into the details of Commodore 64 Revamp. 
About the creator
Stephen Williams, the man behind the device that is making people happy by making them nostalgic. Stephen Williams brought a broken Commodore 64 or C64 and rectified all of its problems so that it can work. One of the best things that he did, he took out the original motherboard from the Commodore 64 and replaced it with the Raspberry Pi, which is such an amazing idea. For the internal housing of the device Stephen used Lego bricks. In an interview with the MagPi Magazine he reveals “I’ve played with Raspberry Pi since the computer first came out, making and discovering new things along the way,” he tells us. “I had a truly broken Commodore 64 that I felt would benefit from a new lease of life. My project blends retro with a modern twist, and brings together some of the things I’ve liked to play with over the years – notably Lego, the C64, Raspberry Pi, and Arduino.”
Development of Project
There is always a creative way to tackle the things in the absence of the resources. Stephen Williams went to the practical approach of making the housing of the Commodore 64 as he does not have the enough resources to make it properly. He acquired a 3-D printer to replace LEGO parts. In the interview given to Magpi Stepher Williams said “I didn’t have access to a 3D printer, and Lego has so many different pieces that it’s really versatile to experiment with,” he says. “I already had a Lego Raspberry Pi case, so it seemed to make sense to build around it. I wasn’t sure what the fit would be like inside the C64, so I bought a mix of pieces from a market stall to see what would work.” 
Stephen was very clear from the beginning of the development of the C64 to build a neat and clean interior. As per his view, It was important to build a solid base inside the C64 to make it work in a more efficient way. All the placements of the components like USB, HDMI are in the right places. He said “I didn’t want to modify the computer’s case in any way and Lego helped me to do all of this.” The rest of the build was rather straightforward and involved inserting a Raspberry Pi computer into the case so that the ports were accessible, inserting a microSD card with RetroPie installed on it, and connecting to the C64 keyboard.
Use of Arduino
Arduino has quite a good reputation among the tech-community because of its powerful process. Stephen Williams had the understanding of it that made him use it in his project. “It provides the mechanism to get a fully working C64 keyboard for Raspberry Pi,” he explains. “The basic idea is to scan the pin readings on the Arduino which are connected to the row and column pins on the C64’s matrix keyboard. Using the Arduino software libraries, the row and column pins are scanned, and the mapped keystrokes are sent to the computer connected to the Arduino via USB.”


