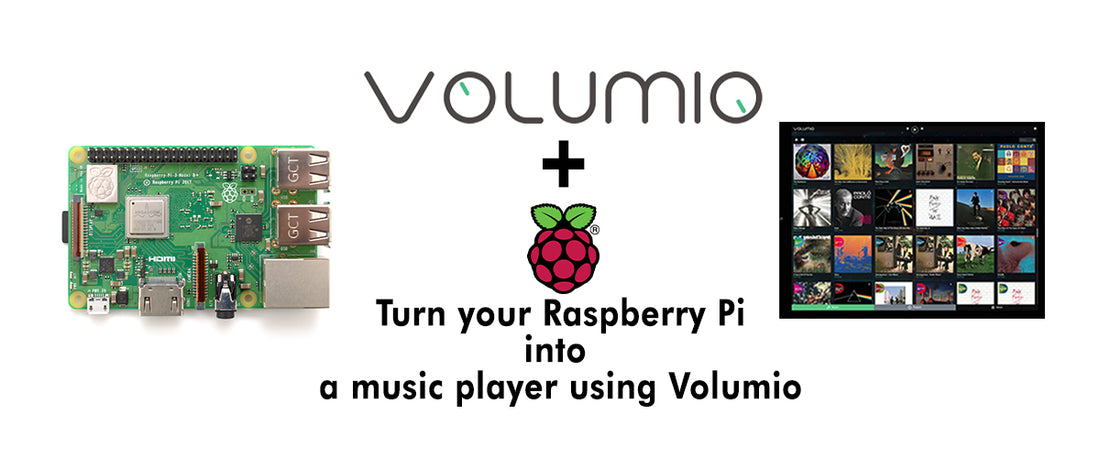
One of the great use of Raspberry is to convert it into a music player using Volumio. In this tutorial, we will learn step by step to make a perfect music player with the touch screen.

Volumio is an open source, a headless music player and it also replaces your KODI based OS to play all your music. It is designed to be able to play almost every single music file, providing support for MP3, FLAC, WAV, AAC, ALAC, DSD and many more. You can also control it with your mobile phone, tablet or PC.
Volumio also supports USB 2.0 DAC’s and Raspberry Pi DAC’s that work through I2S.
Things you need:
1. Raspberry Pi
2. 4.3” Capacitive Touch Screen
3. Micro SD Card
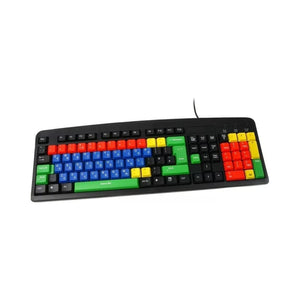
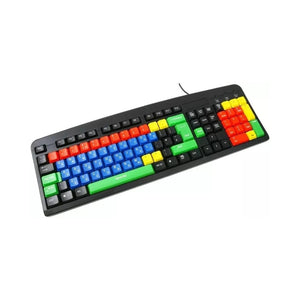
4. Keyboard and Mouse
5. Power Supply
Let's start the tutorial:
Step 1 – First go to the Volumio page and download the Volumio for raspberry pi
https://volumio.org/get-started/

Step 2 – After downloading the image, format the SD card and write the Volumio image on it.
Step 3 – Now open the ‘Config’ file and change some configuration so that our 4.3” LCD will work.
hdmi_group=2
hdmi_mode=87
hdmi_cvt 800 480 60 6 0 0 0
hdmi_drive=1
Step 4 – Safe the ‘config’ file and insert the SD card into the Raspberry Pi
Step 5 – Connect the 4.3” LCD screen with Raspberry Pi

Step 6 – Connect the power supply and power on the Raspberry Pi
Step 7 – Enter the username and password:
Username: Volumio
Password: volumio
Step 8 – Check the IP address of Raspberry Pi using ‘ifconfig’ command
Step 9 – Open the Volumio playback page on the browser using the command:
192.168.1.xxx\playback
Step 10 – Follow steps to finish the configuration


You can use HDMI output or if you have DAC HAT’s for Raspberry Pi you can select available HAT options
Step 11 – Now install touch plugins. Click Setting->PLUGIN


Step 12 – Go to Miscellanea and install the Touch Display Plugin

Step 13 – It may take some time to install the settings and it may be stuck at Keyboard layout installation (i.e. at 70 %). If it happens to restart the Raspberry Pi using the command:
sudo reboot

Step 14 – Setup the keyboard layout manually using command:
sudo dpkg –configure –a
Step 15 – Now repeat the Step 11 - 12 and install the Touch Display plugin again and this time it will install it successfully

Step 16 – Open the Installed Plugins and activate the Touch Display

Step 17 – Wait for some time and it will show the Volumio GUI on the LCD Screen.