A powerful Raspberry Pi HAT featuring an RP2040 microcontroller for dual-MCU projects, prototyping, and real-time I/O control.
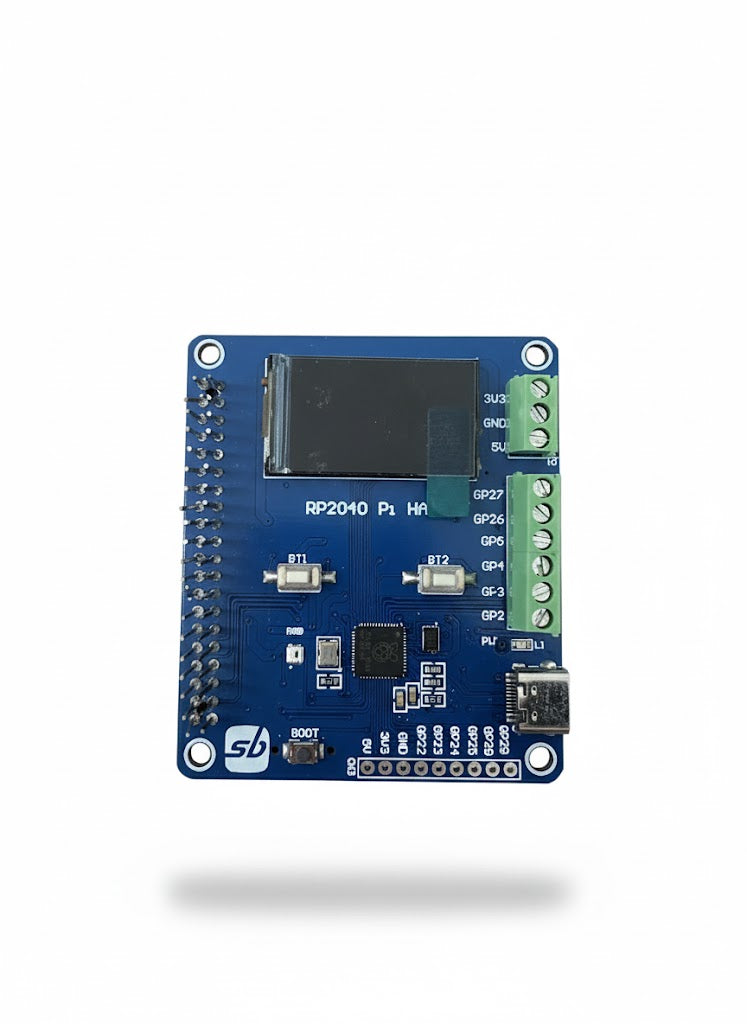
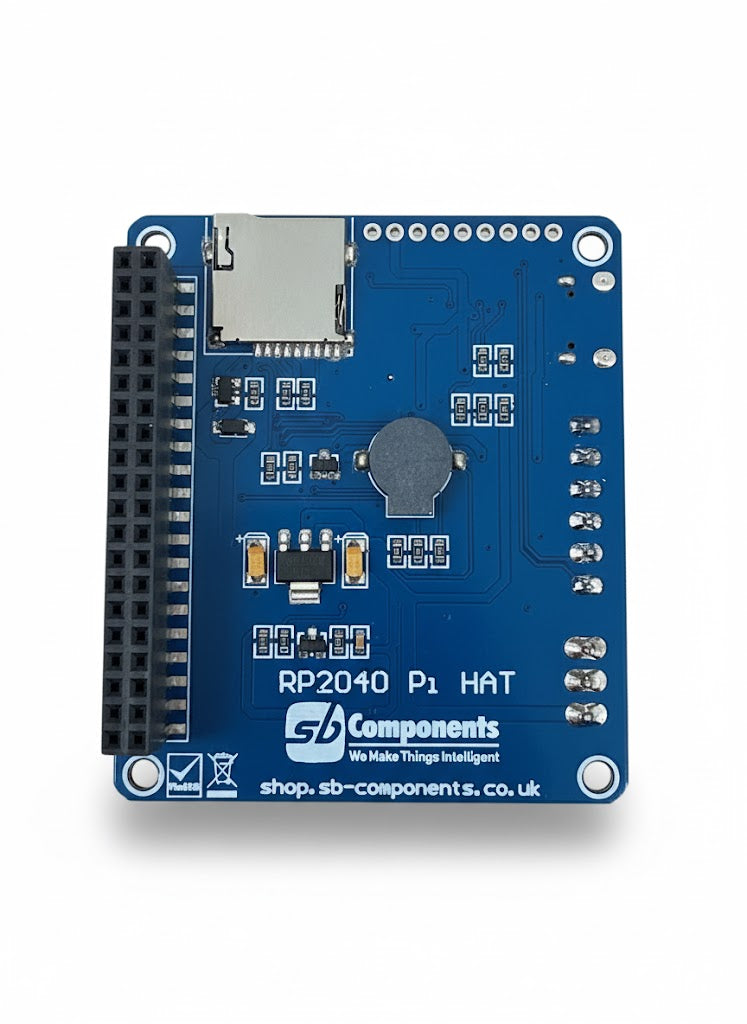
The RP2040 Pi HAT is an expansion board that seamlessly integrates a Raspberry Pi Pico (RP2040 microcontroller) with your Raspberry Pi via the standard 40-pin GPIO header. This creates a powerful dual-MCU system, perfect for offloading real-time tasks, adding user interfaces, and prototyping complex projects directly on your Pi.
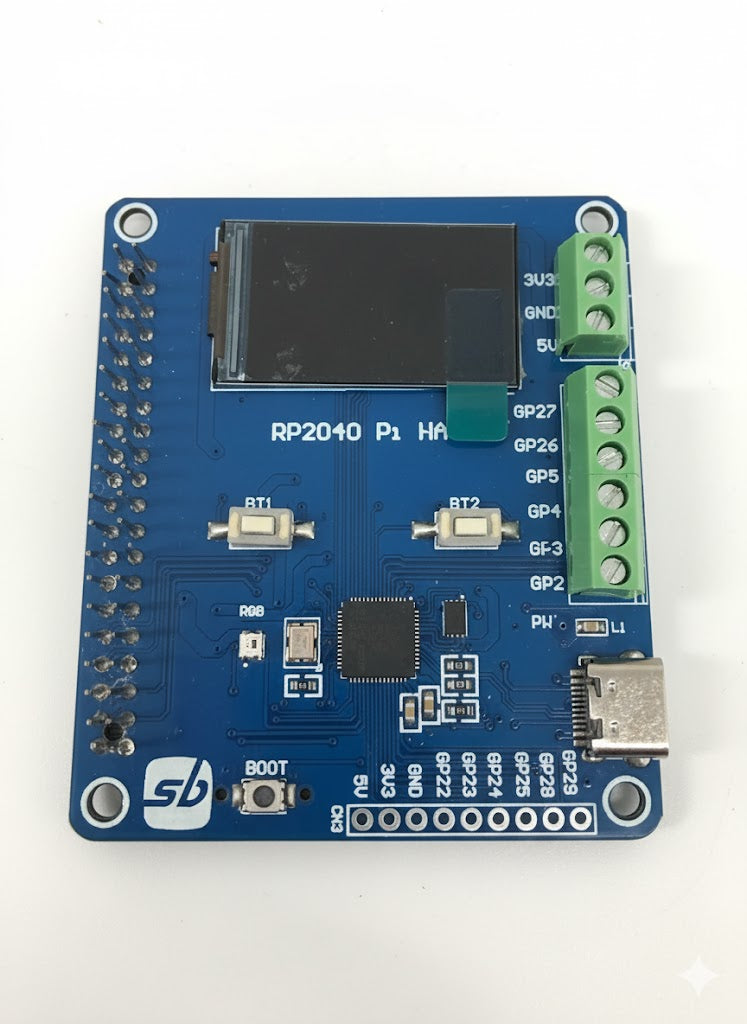
The HAT provides easy access to the RP2040's GPIO pins and includes built-in peripherals like a display, RGB LED, buzzer, and buttons, making it an all-in-one solution for developers, hobbyists, and educators.
- Dual-MCU Architecture: Leverage the Linux power of the Raspberry Pi and the real-time capabilities of the RP2040.
- Seamless Integration: Connects directly to any standard 40-pin Raspberry Pi (Pi 3, 4, 5, Zero).
-
Comprehensive Onboard Peripherals:
- 1.14" IPS TFT Display (135x240) over SPI
- Addressable RGB LED (WS2812B)
- Buzzer for audio feedback
- 2x Programmable Buttons
- MicroSD Card Slot
- Flexible Communication: Dedicated UART and I2C channels for robust data exchange between the Pi and RP2040.
- Easy Programming: USB Type-C port for directly programming the RP2040 without disturbing the Pi.
- GPIO Breakout: All unused RP2040 GPIO pins are broken out to a standard header for further expansion.
| Parameter | Specification |
|---|---|
| Host Controller | Raspberry Pi 3, 4, 5, Zero |
| Onboard MCU | Raspberry Pi RP2040 |
| Supply Voltage | 5V (from Pi GPIO header) |
| Logic Level | 3.3V |
| Display | 1.14" IPS, 135x240 Pixel, SPI |
| Communication | UART, I2C (between Pi and RP2040) |
| User I/O | RGB LED, Buzzer, 2x Buttons |
| Storage | MicroSD Card Slot (SPI) |
| USB | 1x Type-C (for RP2040 only) |
| Dimensions | Standard Raspberry Pi HAT size |
Following GPIO pins consumed when RP2040 Pi HAT connected on Raspberry Pi, 
-
Connect the HAT: Connect the RP2040 Pi HAT to your laptop using a USB Type-C connector.

-
Install MicroPython Firmware:
- The board needs the MicroPython firmware (.UF2 file). If it is not pre-installed, please follow the official guide here to install it.
-
Install Thonny IDE:
- Download and install the Thonny IDE from the official website here. This software will be used for programming and testing.
The RP2040 Pi HAT supports two distinct operational configurations:
- Standalone Mode: Utilizing only the onboard RP2040 microcontroller
- Dual-MCU Mode: Integrated operation with Raspberry Pi host
-
Repository Setup: Download or clone the complete GitHub repository
-
IDE Configuration: Open Thonny IDE and select "MicroPython (Raspberry Pi Pico)" as the interpreter
- File Upload: Transfer all directories from the "Rp2040_Pi_HAT/example" folder to the RP2040
- Demo Execution: Run any demonstration code from the "Standalone RP2040 Pi HAT" directory
Before attempting to integrate the HAT with a Raspberry Pi host, it is essential to have a firm understanding of how to operate the HAT as a standalone device using its onboard RP2040 microcontroller.
- Hardware Assembly: Mount the RP2040 Pi HAT onto the Raspberry Pi GPIO header and connect via USB Type-C
- Firmware Setup: Execute the "pico_UART_communication.py" script located in "example/RP2040 HAT with Pi"
- Access Configuration Tool:
sudo raspi-config
-
Navigation
-
Select "Interface Options" using arrow keys
-
Choose "Serial Port" from the menu
-
-
Serial Settings Configuration
-
Disable login shell over serial (Select "No")
-
Enable serial port hardware (Select "Yes")
-
-
Finish and Reboot
- Select "Finish" and reboot your Raspberry Pi when prompted
-
Repository Acquisition:
git clone https://github.com/sbcshop/RP2040_Pi_HAT_Software.git -
Navigate to Examples:
cd 'RP2040_pi_HAT_Software/examples/RP2040 HAT with Pi' -
open pi_uart_communication.py file
nano pi_uart_communication.py -
Change the UART port according to your Raspberry Pi model
port='/dev/ttyS0', # Change the UART port as per your Raspberry Pi modelFind this line and update it to the correct port, such as "ttyAMA0", "ttyS0" depending on your hardware configuration.
-
Execute Communication Script:
python pi_uart_communication.py -
Expected Output:


