


Raspberry Pi Pico Board with Soldered Header
Couldn't load pickup availability

Description

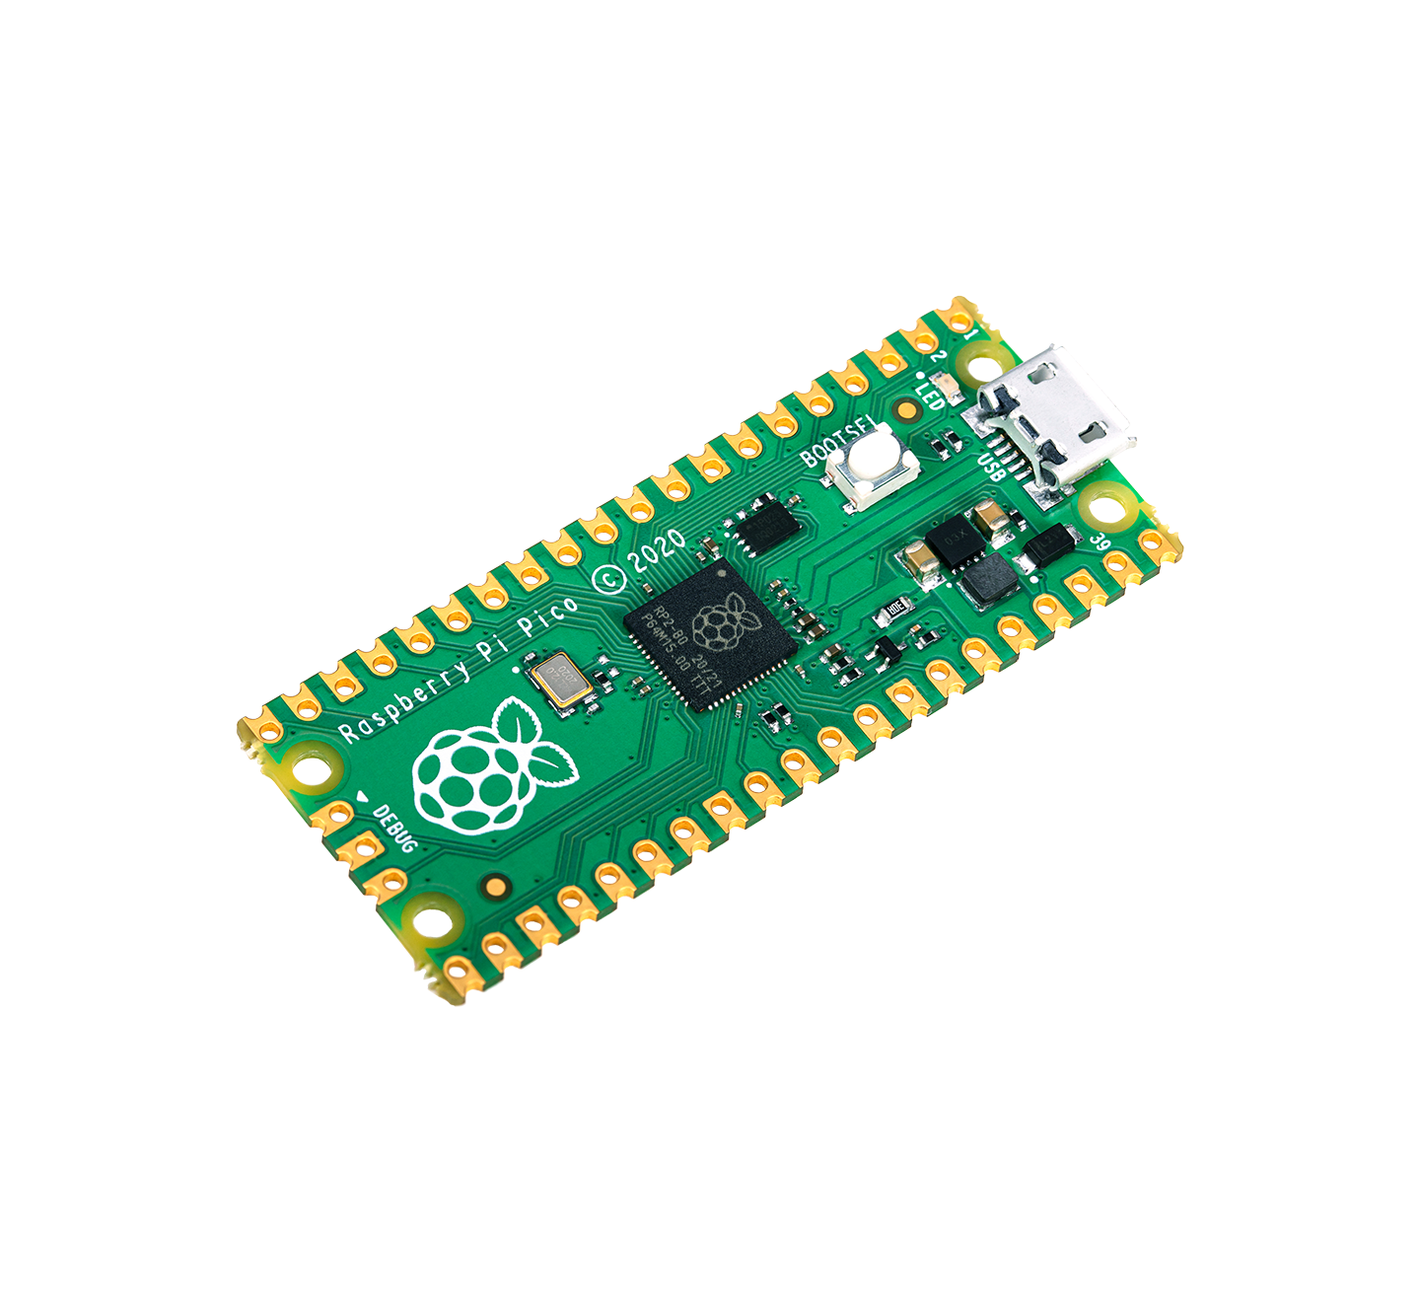
Raspberry Pi Pico is the first product built on silicon designed by Raspberry Pi. At its heart is RP2040, a Raspberry Pi-designed chip, which features Dual Core ARM Cortex-M0+ clocked at 133MHz; 256KB RAM; 30 GPIO pins; and a broad range of interfacing options. Raspberry Pi Pico is paired with 2MB of onboard QSPI Flash memory for code and data storage.
Whether you choose to use Raspberry Pi’s C/C++ Software Development Kit or the official Micro Python port, everything you need to get started is here. You’ll also find links to the technical documentation for both the Raspberry Pi Pico microcontroller board and our RP2040 microcontroller chip.”


Getting started with MicroPython
Drag and drop MicroPython
- Download the MicroPython UF2 file by clicking the button below.
- Push and hold the BOOTSEL button and plug your Pico into the USB port of your Raspberry Pi or other computer.
- Release the BOOTSEL button after your Pico is connected to your computer.
- It will mount as a Mass Storage Device called RPI-RP2.
- Drag and drop the MicroPython UF2 file onto the RPI-RP2 volume.
- Your Pico will reboot. You are now running MicroPython.
- You can access the REPL and MicroPython via USB Serial.
Getting started with C/C++
Blink an LED
The first program anyone writes when using a new microcontroller is to blink an LED on and off. The Raspberry Pi Pico comes with a single LED on-board (connected to GPIO pin 25). You can blink this on and off by,
- Download the Blink UF2
- Push and hold the BOOTSEL button and plug your Pico into the USB port of your Raspberry Pi or other computer.
- It will mount as a Mass Storage Device called RPI-RP2.
- Drag and drop the Blink UF2 binary onto the RPI-RP2 volume.
- Pico will reboot, and the on-board LED should start blinking.
Documentation
Documentation for the Raspberry Pi Pico board and the RP2040 microcontroller
- Raspberry Pi Pico Datasheet (An RP2040-based microcontroller board)
- RP2040 Datasheet (A microcontroller by Raspberry Pi)
- Hardware design with RP2040 (Using RP2040 microcontrollers to build boards and products)
- Getting started with Raspberry Pi Pico (C/C++ development with Raspberry Pi Pico and other RP2040-based microcontroller boards)
- Pico C/C++ SDK (Libraries and tools for C/C++ development on RP2040 microcontrollers)
- Pico Python SDK (A MicroPython environment for RP2040 microcontrollers)
The API level Doxygen documentation for the Raspberry Pi Pico C/C++ SDK is available as a micro-site.
Made in Japan
Learning Resources:
- Everything to know about Raspberry Pi Pico GPIO Expansion
- Getting started with Raspberry Pi Pico HAT Expansion
- Everything to know about Raspberry Pi Pico Breadboard Kit
- Which Micro-Controller Board is better: Pico or Arduino UNO?
- Get Started with MicroPython on Raspberry Pi Pico
- Raspberry Pi Pico: The $4 advanced Microcontroller based on RP2040 Dual Core ARM Cortex-M0+


