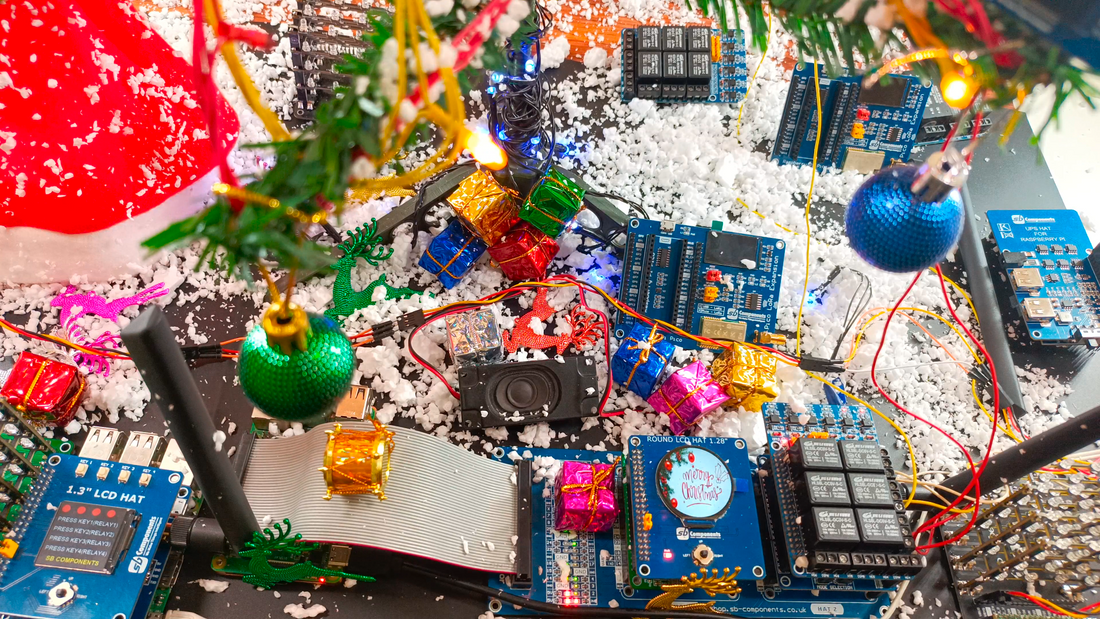
Merry Christmas to all, in this project we’re decorating Christmas Tree using several Raspberry Pi HAT’s & Add-ons, Let’s begin…

Hardware You need for this project:
- 2 x Raspberry Pi Computer (we are using Pi 4)
- 2 x LoRa HAT for Raspberry Pi (Transmitter and Receiver)
- 2 x LCD HAT (Round LCD HAT with push buttons)
- 1 x PiRelay 6 (6 Channel Relay HAT)
- 1 x Raspberry Pi 400 Expansion Board
- 2 x Raspberry Pi Pico Board
- 2 x Pico Cube (optional)
- LED Strips (you can use normal LED’s)
Setup Raspberry Pi’s for the Projects
Note: if you're doing a headless setup, ensure SSH and/or VNC are enabled
- Enable the serial port from the setting or sudo "raspi-config" as shown in for the Raspberry Pi LoRa HAT


Getting All Raspberry Pi Hardware’s Connected
- Connect PiRelay 6 & Round LCD to Pi 400 Expansion Board as shown in the figure below and connect all the LED strips to PiRelay 6 module.

Running Codes
- You have to run few codes main.py on both Raspberry Pi’s including LCD Library
- In first Raspberry Pi (i.e. Transmitter) we transmit data to another Raspberry Pi via LoRa HAT wirelessly transmitter_lora.py
- Download Library of LCD’s first


- In Second Raspberry Pi (Receiver) receiver_lora.py
This code receiver_lora.py receive the data transmit from another LoRa HAT which can be used for customising LED Patterns via LoRa HAT & PiRelay 6
In main.py: This will setup the countdown timer and various LED Patterns (you can also use speaker to make countdown real) in display you can see the countdown running as shown below:
Lightning your Christmas Tree with Pico Cube’s - Optional 
Use code pico_led_cube.py


